
A maintenance checklist that operators can actually use
A floor scrubber maintenance checklist should tell the operator what to inspect, when to record a defect and when to stop using the machine. It should also distinguish routine care from work assigned to a trained service technician. A long list with no owner or follow-up process will not help the next shift.
The checklist below is a planning framework for facilities using industrial or commercial scrubber dryers. Follow the operation and maintenance manual supplied with the exact machine for procedures, approved products, service intervals and battery instructions. Those model-specific instructions take priority over a general checklist.
Set up one record per machine, using its model and serial number. Keep the manual, configuration list and service contact with that record. For a shared fleet, make the record available where operators collect the machine so that reported problems are visible before work starts.
Before each shift: check readiness
| Check | Operator observation | Record or action |
|---|---|---|
| Previous handover | Any unresolved defect or restricted-use note? | Confirm release before returning a stopped machine to service. |
| Exterior and route | Visible damage, leaks or obstructions? | Report the location and avoid starting an unsafe route. |
| Working tool | Correct brush or pad, fitted as instructed? | Record damage or excessive wear; replace only as permitted. |
| Recovery assembly | Visible debris, damaged blade or loose connection? | Clean accessible parts according to the manual. |
| Tanks and covers | Ready for use, with covers and seals in place? | Correct routine setup issues before the cleaning pass. |
| Power and controls | Charge indication and normal startup response? | Record warnings; do not bypass a fault or protective device. |
Carry out physical inspection only with the machine in the safe state specified by its manual. Keep hands clear of moving parts. A checklist should not encourage someone to inspect underneath an operating cleaning head or improvise access to electrical components.
Before filling, confirm the cleaning product and dilution for both the machine and the floor. More detergent is not automatically a better cleaning method. Keep the approved product name and preparation instruction on the shift sheet so that operators do not have to guess which container to use.
Use a short test pass before the full route
Begin in an appropriate controlled area. Observe cleaning contact and water recovery while using the normal operating procedure. Check the floor behind the machine before committing to a long route. A short initial check can reveal a setup problem while it is still easy to correct.
Record what you can actually see: an uneven wet trail, a missed strip, unusual noise or a displayed fault. Avoid writing a guessed diagnosis such as “vacuum motor failed” when the observation is only “water remains behind the squeegee.” Accurate observations make subsequent checks more useful.
If the result is abnormal, stop and follow the permitted operator checks in the manual. Keep pedestrians away from a wet or otherwise unsafe area under the site’s procedures. Do not continue simply to complete the scheduled route and leave the defect for the next operator.
After each shift: leave the machine ready
Allow time for care after the last cleaning pass. The route is not finished when the operator reaches the final aisle: recovery tanks, tools and storage arrangements still need attention. Include this work in the cleaning schedule instead of treating it as optional overtime.
- Move to the designated servicing location and put the machine into the safe state required by the manual.
- Empty recovered water using the approved site procedure. Follow local and site requirements for the material collected.
- Clean accessible tanks, screens and recovery components as directed. Do not direct water into electrical areas or use a pressure washer unless the manual expressly permits it.
- Remove collected fibers and debris from approved accessible working parts. Check the brush or pad and squeegee for visible damage.
- Follow the specified drying and storage arrangement for tanks, covers and tools.
- Complete the battery charging or power-storage procedure for the fitted system.
- Record defects, consumables used and whether the machine is available for the next shift.
Make the final availability status explicit: ready, awaiting an operator-approved action, or stopped for service. If a machine is unavailable, use the site’s identification and isolation procedure so another person cannot mistake it for a ready unit.
At the planned review: look for patterns
Choose a regular supervisor review point that fits the workload, in addition to the model’s specified service intervals. For a busy shared machine, reviewing records frequently may be useful; this is an organizational choice, not a replacement for the manufacturer’s schedule.
Look for repeated recovery problems, unusually frequent consumable changes, recurring startup warnings and unfinished routes. Ask whether the same problem appears with one floor zone, one tool setup or several operators. Compare the information before ordering parts or changing the cleaning process.
Inspect accessible wear items within the limits of the manual and compare them with the correct replacement criteria. Plan the next technician service using the required calendar or operating-hour interval. A general weekly checklist should never extend an interval specified for a particular component.
Keep a small, identified stock of the consumables required for the actual fleet. Separate parts that look similar but belong to different models. Store the part number, machine compatibility and quantity together. This avoids fitting an approximate replacement because the correct blade or tool cannot be identified.
Battery care belongs to the fitted battery system
Record the battery type and approved charger supplied with the machine. Do not copy a charging routine from a different scrubber or assume all batteries accept the same practice. Charging location, connection sequence, ventilation and storage instructions must match the equipment documentation and site arrangements.
Operators can record charge indications, when charging started and any visible warning. They should report damaged cables, abnormal heat, leakage or other irregularities using the site’s stop-use process. Internal battery work and electrical measurements belong to qualified personnel following the relevant service procedure.
Do not include generic battery watering in every checklist. Some battery systems do not use that procedure, and the wrong instruction can create a problem. If maintenance of a specific battery requires a separate approved task, assign it to the authorized person and attach the correct instructions.
When a route cannot be completed, record the workload as well as the battery indication. A changed tool, longer route or additional stops can alter the working pattern. Useful service information includes the fitted system, charging history, operating time and fault messages rather than a single claim of “poor runtime.”
Common symptoms: what to record before requesting service
Nilfisk’s guide to common floor-scrubber problems identifies water delivery and pickup, drive, cleaning-tool operation, cleaning results and battery performance as troubleshooting areas. The observation sheet below uses those broad symptom groups; it does not substitute for an MRCH model’s service instructions.
| Observed symptom | Useful information to collect | Operator boundary |
|---|---|---|
| Water left on the floor | Photo of the trail; floor zone; recovery-tank state; visible blade debris. | Only accessible cleaning and setup checks permitted by the manual. |
| Little or no solution delivered | Tank state, selected settings and any warning. | No dismantling of pumps, valves or electrical controls. |
| Uneven cleaning | Tool identification, floor finish, residue and product dilution. | Do not increase abrasion or chemistry without compatibility review. |
| Tool or drive does not operate | Exact displayed message and startup sequence used. | Never bypass an interlock or repeatedly force operation. |
| Shorter working time | Charging record, operating time and changes to the route or setup. | No improvised battery repair or unapproved charger substitution. |
A practical shift handover record
Keep the daily form short enough to finish consistently. A useful record can contain the following fields: date, machine model, serial number, operator, route, start and finish time, pre-use result, after-use care, defect description and availability status. Add operating hours if the machine provides them and the service plan uses them.
For a defect, include the time it first appeared and whether it occurred continuously or only in a particular area. Attach a clear photograph when that helps. Record the action actually taken and who authorized any return to service. Avoid a tick marked “fixed” without a description of the correction.
For example, a useful entry might read: “Uneven wet trail observed in aisle B after the first pass. Route stopped. Accessible recovery area inspected and cleaned under the operator procedure. Test pass repeated; trail remains. Machine marked unavailable and service contact informed.” This is an illustrative record format, not an instruction that a particular cleaning action will fix the issue.
Prepare a service or spare-parts request
Send the model and serial number first. Include photographs of the machine identification and the component involved, plus the displayed fault if there is one. State the operating conditions and summarize the checks already completed under the manual. This helps prevent repeated questions and confusion between similar configurations.
For consumables, identify the existing part number where available and provide dimensions or photos requested by the supplier. Ask for confirmation of compatibility before ordering a substitute. Keep the confirmed item description with the machine’s record so that the next replacement does not start from scratch.
For an MRCH machine, send the identification and issue details to the MRCH team. For a new purchase, use the floor scrubber range to identify the proposed model, then ask which operating documents, consumables and service arrangements are included in the quotation.
What the supervisor should review each month
A monthly management review is a useful example of a record-review routine, separate from technical service intervals. Compare completed cleaning routes, downtime, reported defects and consumable use. Investigate changes in context rather than setting a universal acceptable number for every machine and site.
If water-pickup complaints repeatedly follow the same route section, inspect the floor and operating arrangement as well as the equipment. If defects are reported but no machine is ever marked unavailable, check whether staff understand the handover process. Records should support decisions, not become a collection of unexplained tick boxes.
Use the review to schedule training, update the approved consumables list and arrange upcoming service. Keep one current checklist version at the machine and retire obsolete copies. When equipment or battery configurations change, review the checklist before the replacement enters normal use.
Maintenance questions
How often should a floor scrubber be serviced?
Use the exact model’s calendar or operating-hour requirements and any additional instructions for its fitted components. Daily operator care and a supervisor’s record review serve different purposes from scheduled technical servicing.
Can one checklist cover the whole fleet?
Use a common record format, then attach model-specific procedures. Keep battery, tool, consumable and service details separate where configurations differ. A shared form should make those differences visible.
Should maintenance time be included in cleaning productivity?
Include routine preparation and after-use care in the labor schedule for the cleaning task. Separately track planned technical service and downtime. This makes equipment comparisons more realistic; see how to budget the cleaning window.
Keep X50 and X70 maintenance records separate
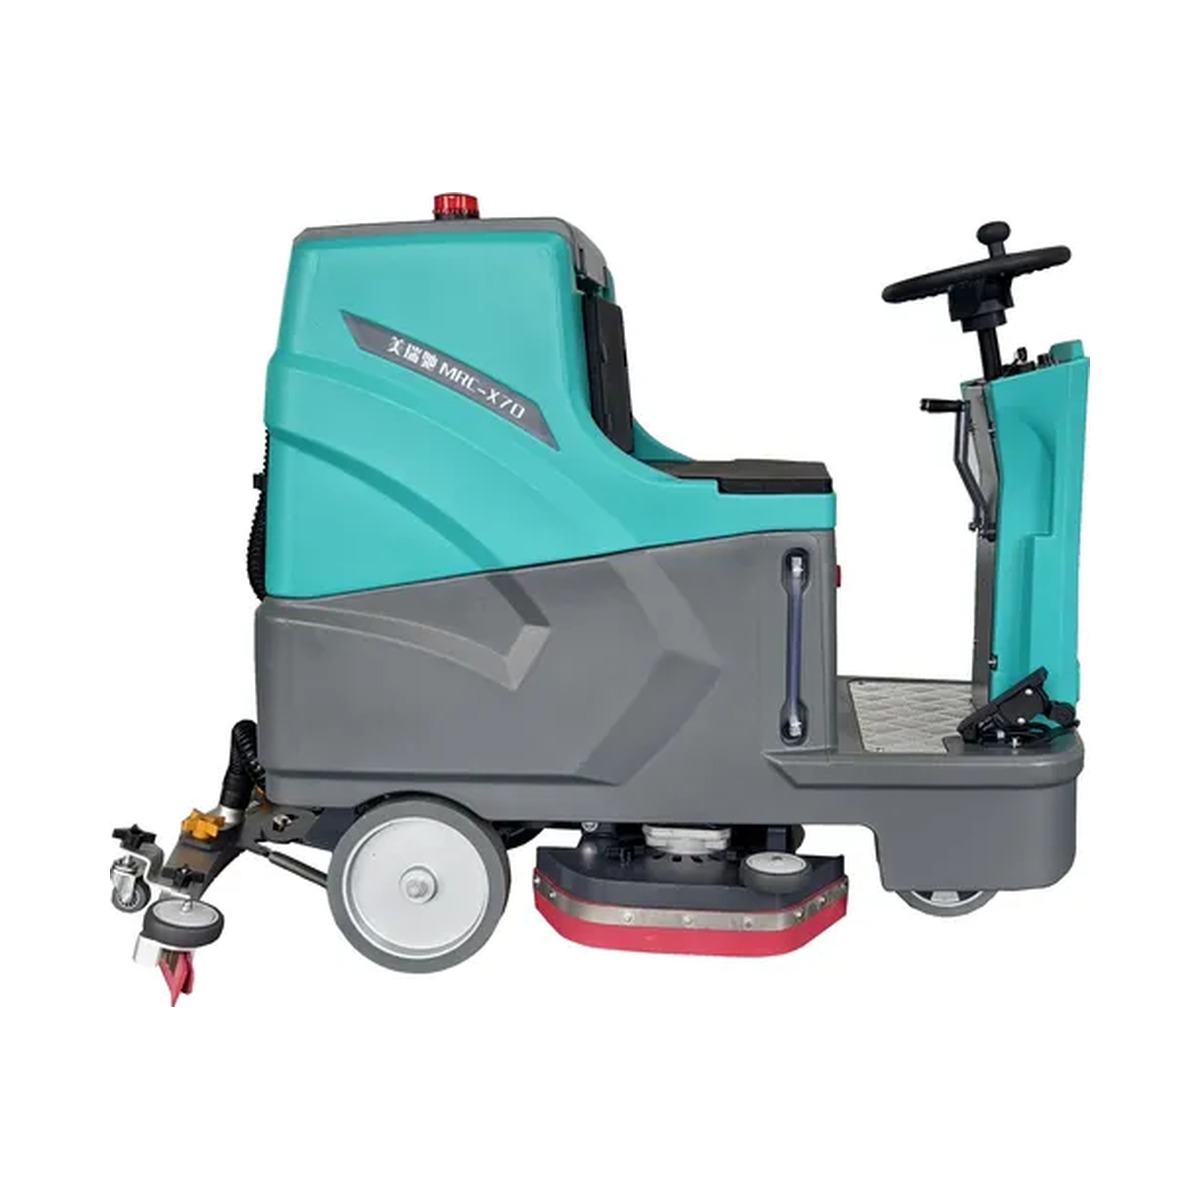
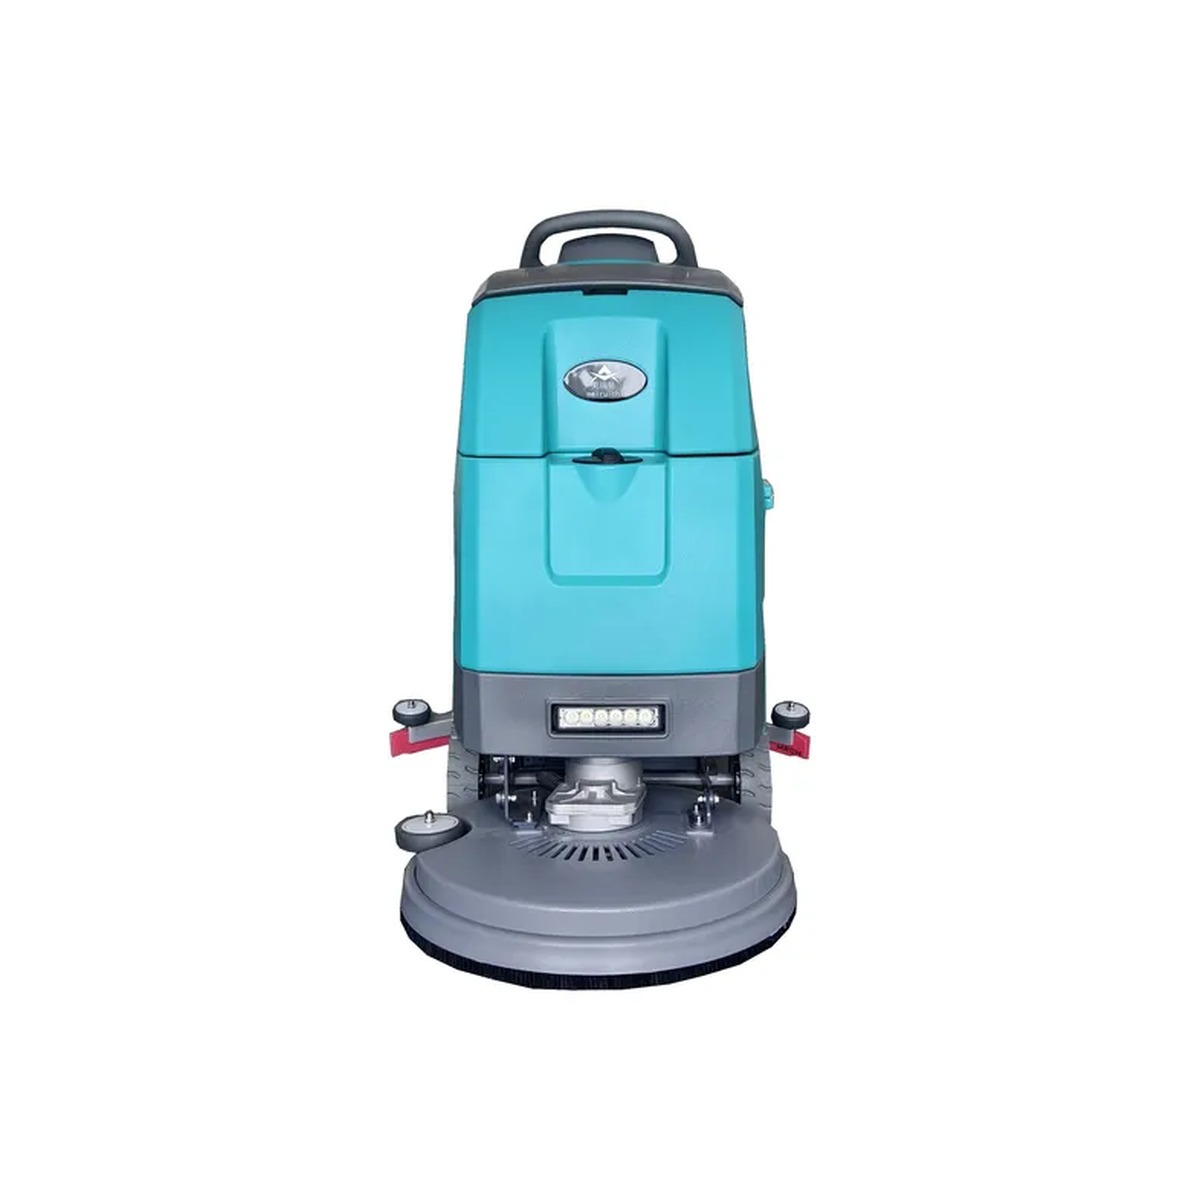
Apply this record format to the MRCH X50 walk-behind scrubber and MRCH X70 ride-on scrubber through their supplied operating instructions. Keep each machine’s serial number, battery and charger identification, fitted cleaning tool and recovery-part references in its own folder. A common checklist layout does not make the two models’ components interchangeable.
If water remains on the route, use the X50 and X70 water-pickup observation guide to prepare useful information. If replacement is needed, the MRCH spare-parts guide explains what to send and what compatibility to confirm. Neither guide replaces the exact configuration’s operating or service procedure.